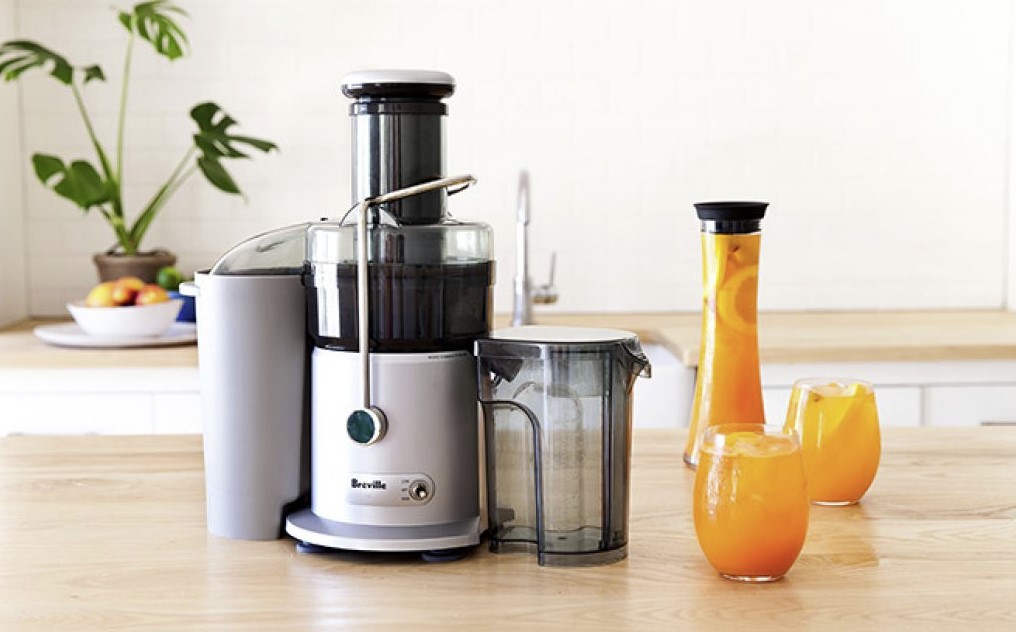
Juicing fresh food increases vitality and can help boost your overall health, as well as that of your loved ones. However, what isn’t healthy is using an improperly cleaned juicer.
The build-up of bacteria from the bits of fruit and vegetables can cause serious health issues. Hopefully, you will learn a thing or two from this easy Breville juicer cleaning guide to make the most of your appliance.
Before you clean
Before we show you how to clean a Breville juicer, there are several tips on the best way to care for the machine that you should know. They can also help make it easier to clean:
- Ensure you extract all the remaining pulp in the juicing bowl before you stop the juicer.
- Operate the juicer for an extra 30 seconds after the juice is extracted. Then proceed to fill the juicing bowl with water and run the juicer before opening the drum lid.
- Press the REVERSE-OFF-FORWARD button in this order when the drum lid is stuck, switching back and forth about 3 times to dislodge. Then press down on the drum firmly while simultaneously turning the drum lid to open.
Read Also: The best blender and food processor combo
How to clean a Breville juicer – a step by step guide
Here are the steps to follow when cleaning your Breville juicer
- Start by switching OFF and unplugging the power cord from the wall outlet.
- Open the drum lid by turning it counterclockwise.
- Then, turn the top set counter-clockwise and lift off the motor body.
- Remove the juicing screw, strainer, and rotation wiper unit from the juicing bowl. Clean with the brush provided.
- Place the juicing bowl under running water. The round brush can clean the juice spout of the juicing bowl.
- Still, under running water, use a non-abrasive sponge to clean the outside of the juicing screw. Push out any residue in the crevices on the juicing screw button using the tip of the cleaning brush.
- Use a soft damp cloth to clean the body and then dry thoroughly.
For the silicone parts, clean the rotation wiper under running water and thoroughly dry afterward. There is a provided silicone brush you can use.
Pull it out from the rotation wiper to clean and insert it into the slot after cleaning. Remove the silicone ring from the strainer to clean and insert it back into the original position once done. Ensure the compression silicone and silicone ring are inserted firmly before assembling the top set.
As a reminder, ensure you immediately clean your juicer after every user. Should the remaining residue dry up, it can make it difficult to disassemble and clean up the juicer.
You don’t have to buy a new juicer when some parts appear rusty. Sometimes, all it needs is just proper cleaning. With this guide, you should be able to properly clean your Breville juicer for tasty and nutritious juicing.

