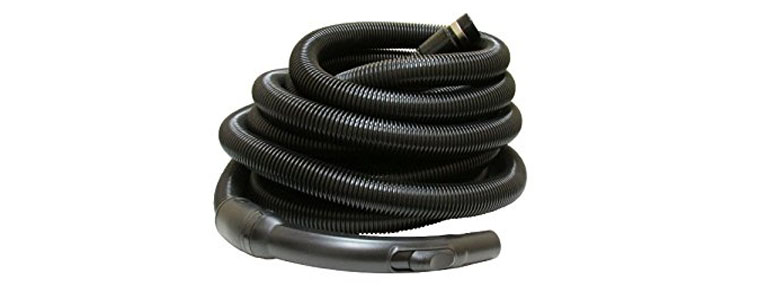
Let’s face it. No one thinks about repair and maintenance when buying that impressive vacuum cleaner touted to be the best deal for your money.
However, as the pet hair, dust and breadcrumbs take their toll on your vacuum, you will find yourself faced with multiple maintenance and repair tasks like replacing a filter, swapping the battery for cordless vacuums, and perhaps vacuum cleaner hose repair.
The vacuum cleaner hose isn’t indestructible
Even though the vacuum hose is flexible and versatile, years of pressure and clogged debris might tear it at points or work it loose from the connection points. This is normal. The extent of the damage will determine whether you will simply replace the hose or do quick repairs.
A clogged or torn vacuum hose will either lead to lost suction power or put more strain onto your motor by forcing it to suck harder around the clog. The reduced sucking efficiency makes the vacuum cleaner less effective at cleaning hence forcing you to make more passes hence wasting time and electricity.
Read Also: Shark Ion Robot R75 vacuum cleaner review
Repairing your vacuum cleaner hose
If your vacuum cleaner extension hose isn’t too damaged, you can make do with some repairs and patch up. To accomplish this, you will need:
- Some talcum powder or chalk to remove the adhesive around connecting points
- A utility knife to cut and shape the hose
- Duct or electrical tape to repair tears and cracks
- A broom handle to straighten your vacuum hose
- A plastic adhesive (the kind that is easy to remove in the future)
Fixing a leak on the hose
Most vacuum cleaner hoses develop a leak towards the end. If this is at the point where the hose connects to the head or the main unit, a quick cut that gets rid of the damaged area will do the trick. Use your utility knife to cut around the hose and ensure that you cut the smallest section of the hose as you might want to do this again in future.
Once you’re done, use the talcum powder to wiggle the cut section from the plastic section. Reattached your crimped hose to the plastic connector, apply some glue for an airtight seal and reattach the hose to the vacuum head or main unit.
If your vacuum model uses a machine-fitted plastic connector, you won’t be able to use this repair trick. Your only solution will be to purchase a replacement hose compatible with your vacuum cleaner.
In cases where you can’t just cut off the faulty section, tightly wrap the electrician tape or duct tape around the tear or gash to plug the leakage. Apply a couple of layers to make a tight seal but not too much to make it bulge.
A duct tape fix will hold for a while but might work loos sooner than you think. In addition to this, it rarely looks very presentable. Think of it as a makeshift solution as you wait to purchase a replacement hose.
After using duct tape, sprinkle some chalk or talcum powder on the floor and vacuum it.
Replacing your vacuum cleaner hose
Most vacuum models will have some instructions on how to remove and replace your hose since the manufacturer understands that this piece will eventually have to be a replacement. Some vacuums will have you twist the hose in an anticlockwise direction to unscrew it while others just need a firm tug on the connector.
Before getting started, you will have to:
- Get the right hose for your vacuum model
- If your vacuum has reusable connectors, just buy a generic vacuum hose of the right diameter
- Get a vacuum cleaner hose adapter in case your vacuum cleaner won’t work with readily available parts
- Go through your manual and understand how to pull out the old hose and insert the new one
If the process involves loosening any screws, washers, or other small parts, be keen and ensure that you don’t lose anything. All these parts must go back in the right order to ensure an airtight seal.
This is very important in upholding the integrity of the vacuum suction effect your cleaner creates after the repair. Don’t forget to test your vacuum’s performance and look for any leaks after repairing or replacing the hose.

